One of the things I love about Linux is how predictable it becomes once you understand the layers: storage, permissions, services, and networking. Every piece is visible, configurable, and scriptable. So when I decided to build a personal media server, Jellyfin was the perfect project to tie those layers together – a real‑world example of how Linux services, automation, and user experience can intersect.
🧩 What is Jellyfin?
Jellyfin is an open‑source media server that lets you organize, stream, and manage your own collection of movies, shows, music, and photos. It’s essentially a self‑hosted alternative to commercial streaming platforms, but everything runs on your hardware and stays under your control.
⚙️ How Jellyfin Works (the short version)
Jellyfin follows a simple but powerful architecture:
- Server component: Runs on Linux, Windows, or containers. It scans your media folders, extracts metadata, and exposes everything through a web API.
- Metadata engine: Pulls posters, descriptions, cast lists, and artwork from online sources, then organizes your library automatically.
- Transcoding pipeline: Uses FFmpeg to convert video on the fly when a device can’t play the original format. This is where hardware acceleration (VAAPI, NVENC, QuickSync) comes in.
- Client apps: Web browser, Android, iOS, smart TVs, Roku, etc. They connect to your server and stream content just like Netflix — but from your machine.
- User management: Multiple profiles, parental controls, watch history, and permissions.
- Networking layer: You can keep it LAN‑only or expose it through a reverse proxy for remote access. You can also create a funnel with a service such as TailScale to expose Jellyfin to the outside network.
Setup demonstration
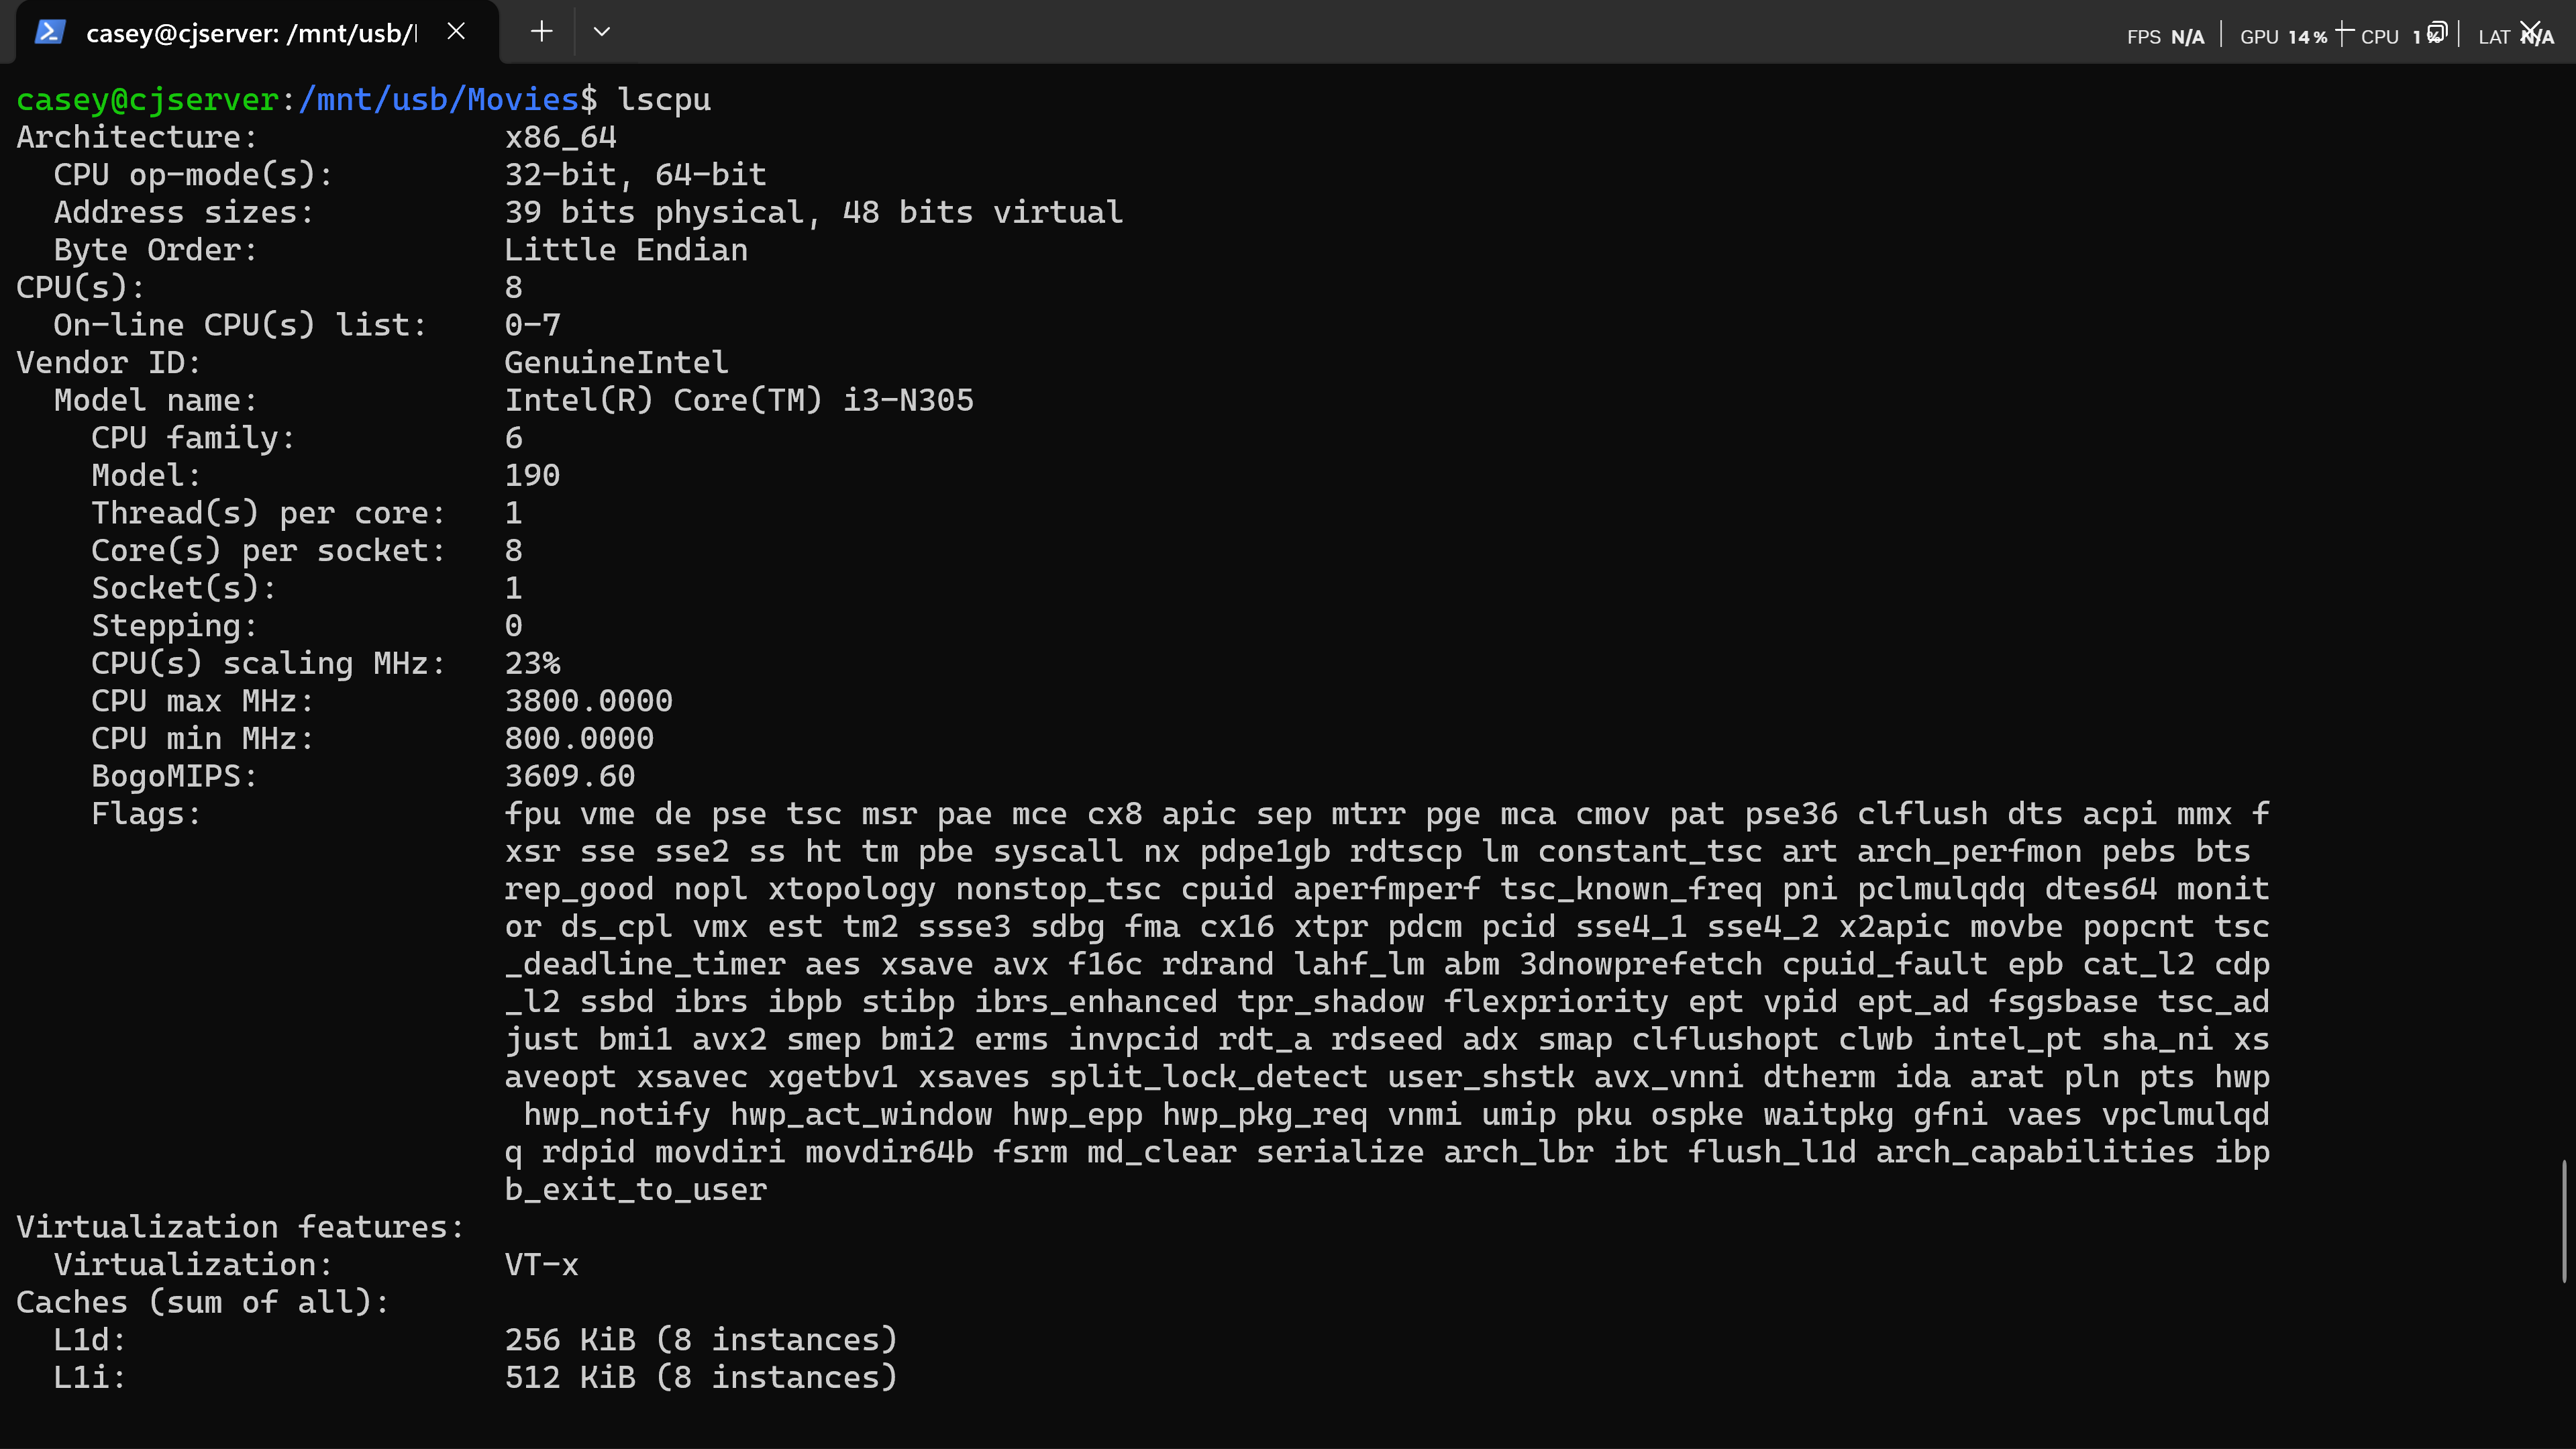
Fortunately, you do not need a powerful system to employ this setup; however, I strongly recommend a wired connection from the machine that will act as the server, directly to the router to avoid latency/synchronization issues. Here is the hardware I am utilizing to host Jellyfin on my LAN.
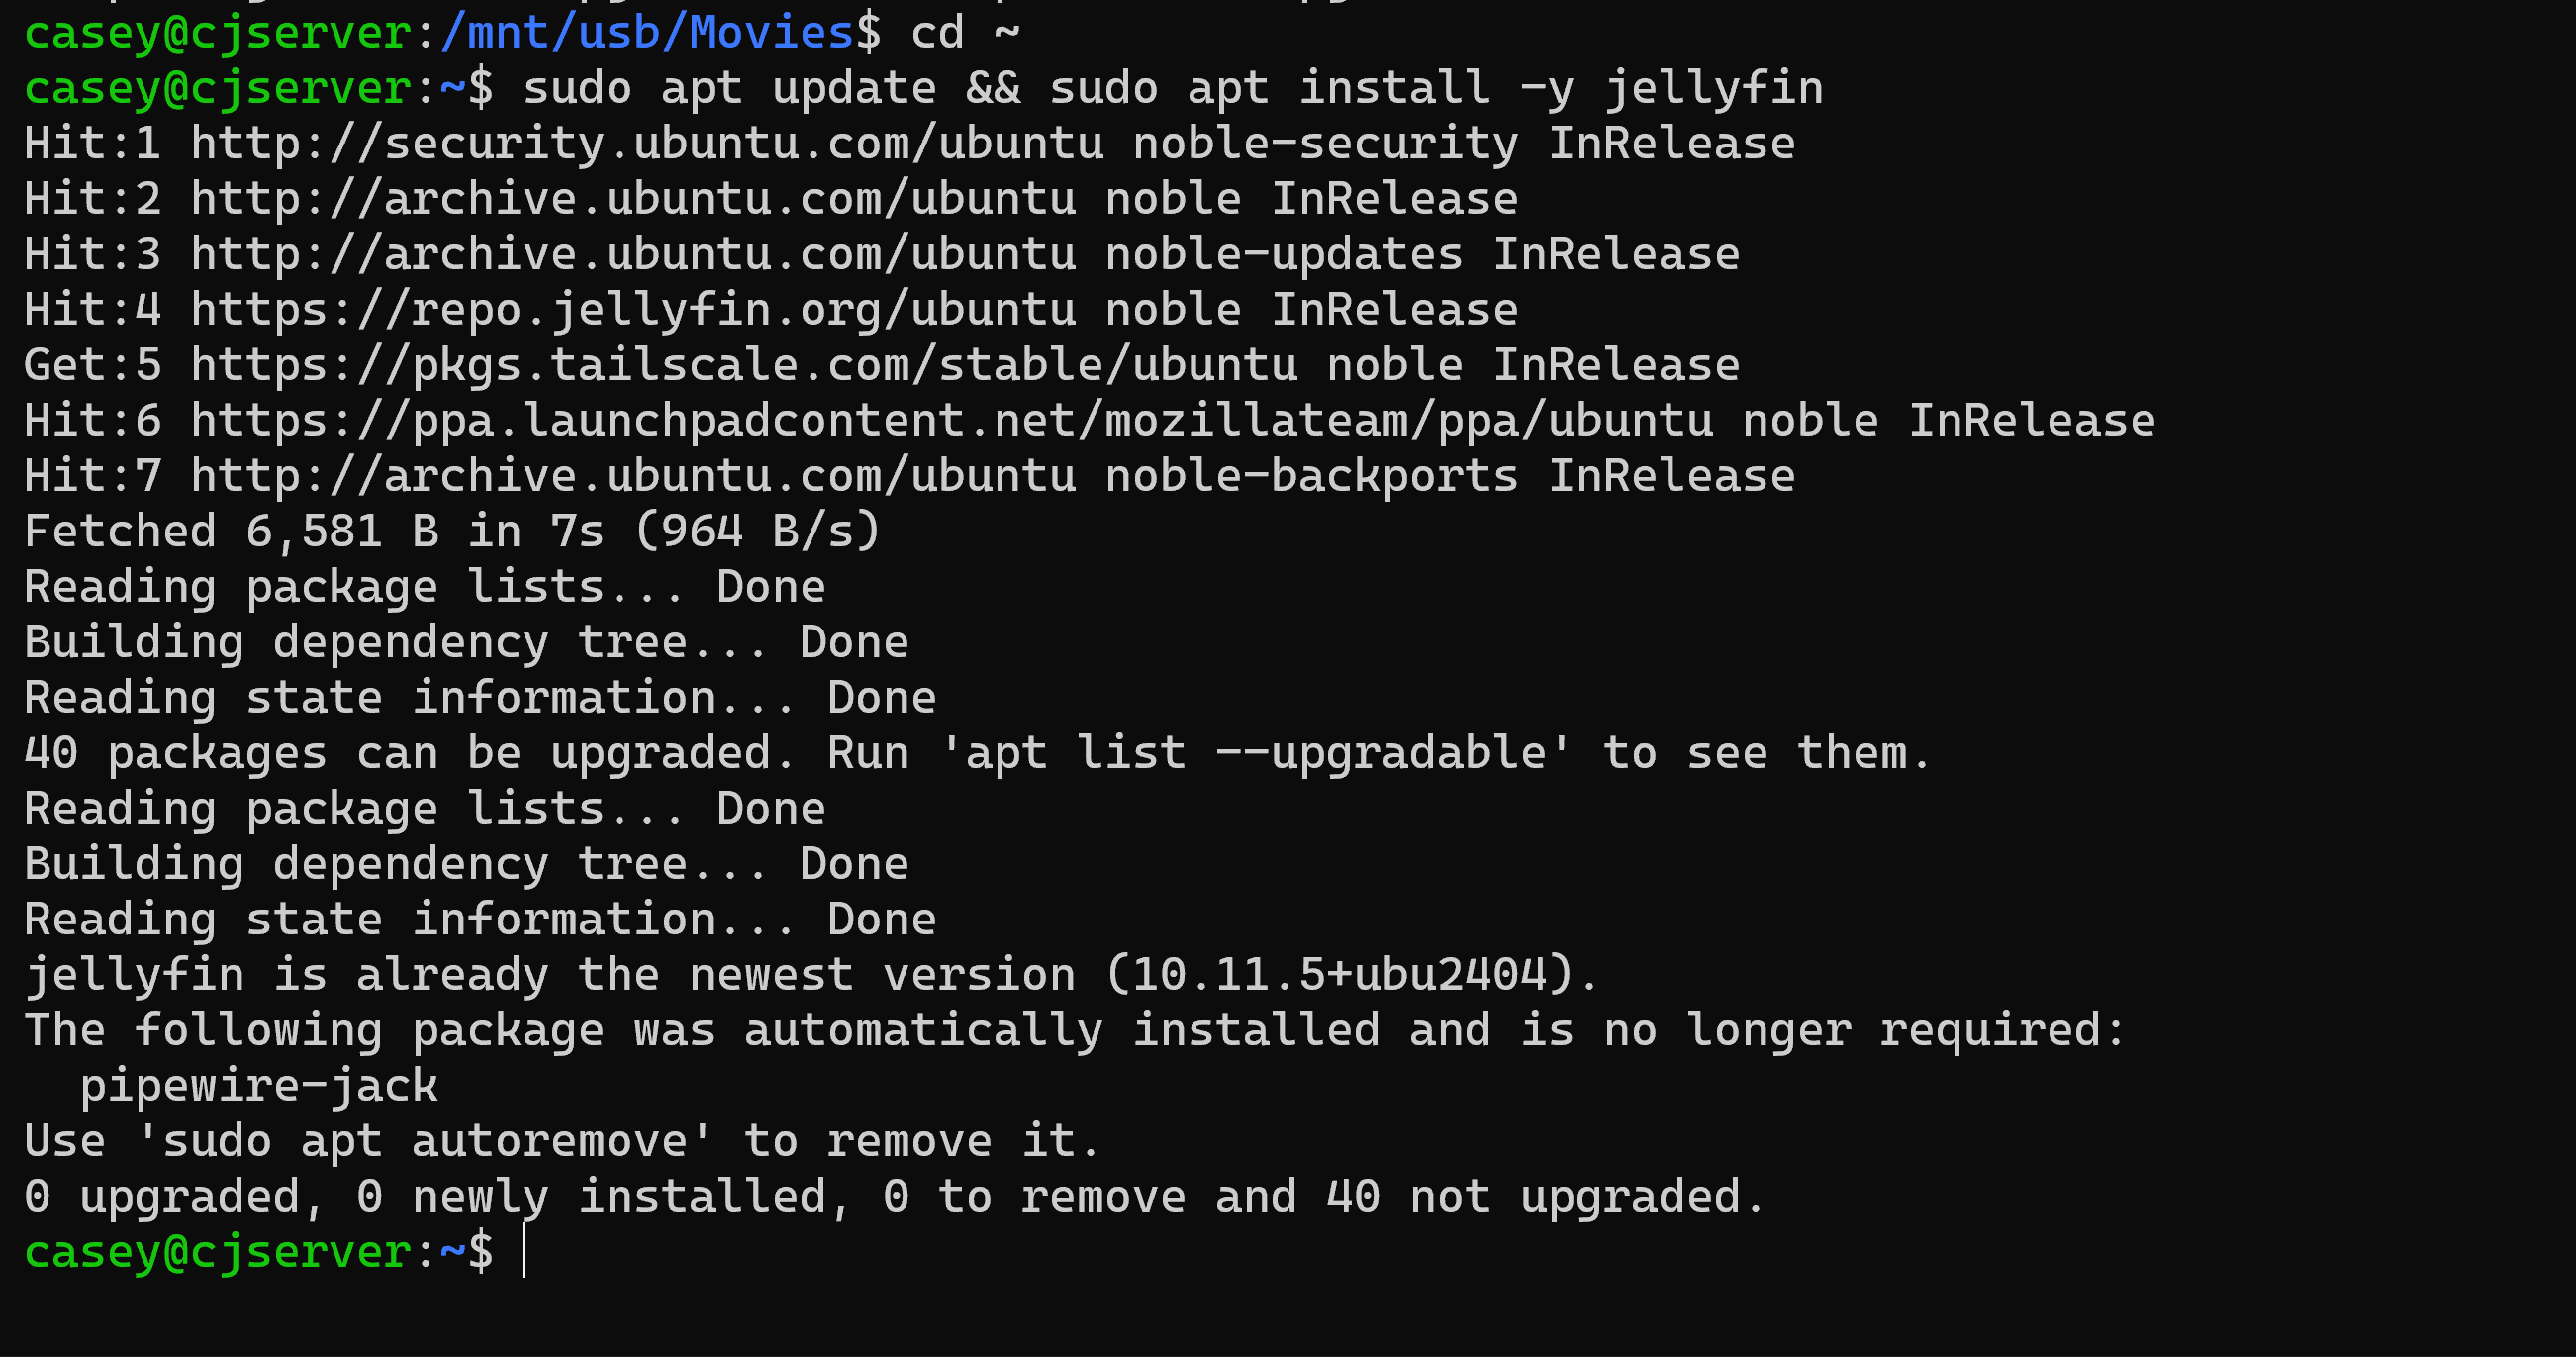
Step 1: Ensure your system is up to date and begin the Jellyfin Install. You would see a different output because I already have Jellyfin up and running. Note: including -y flag with this command says yes to everything, essentially accepting the default setup.
Okaaayyy….. so where does Jellyfin actually get my media from? Well, that is up to you, my friend. Let me explain. Once we have Jellyfin running, configured firewall rules, and an open port for Jellyfin, we can access the Jellyfin dashboard through a browser, where we can visually indicate to Jellyfin where to locate our media files. If you go with my exact setup, you’ll need to mount an external hard drive (sda)
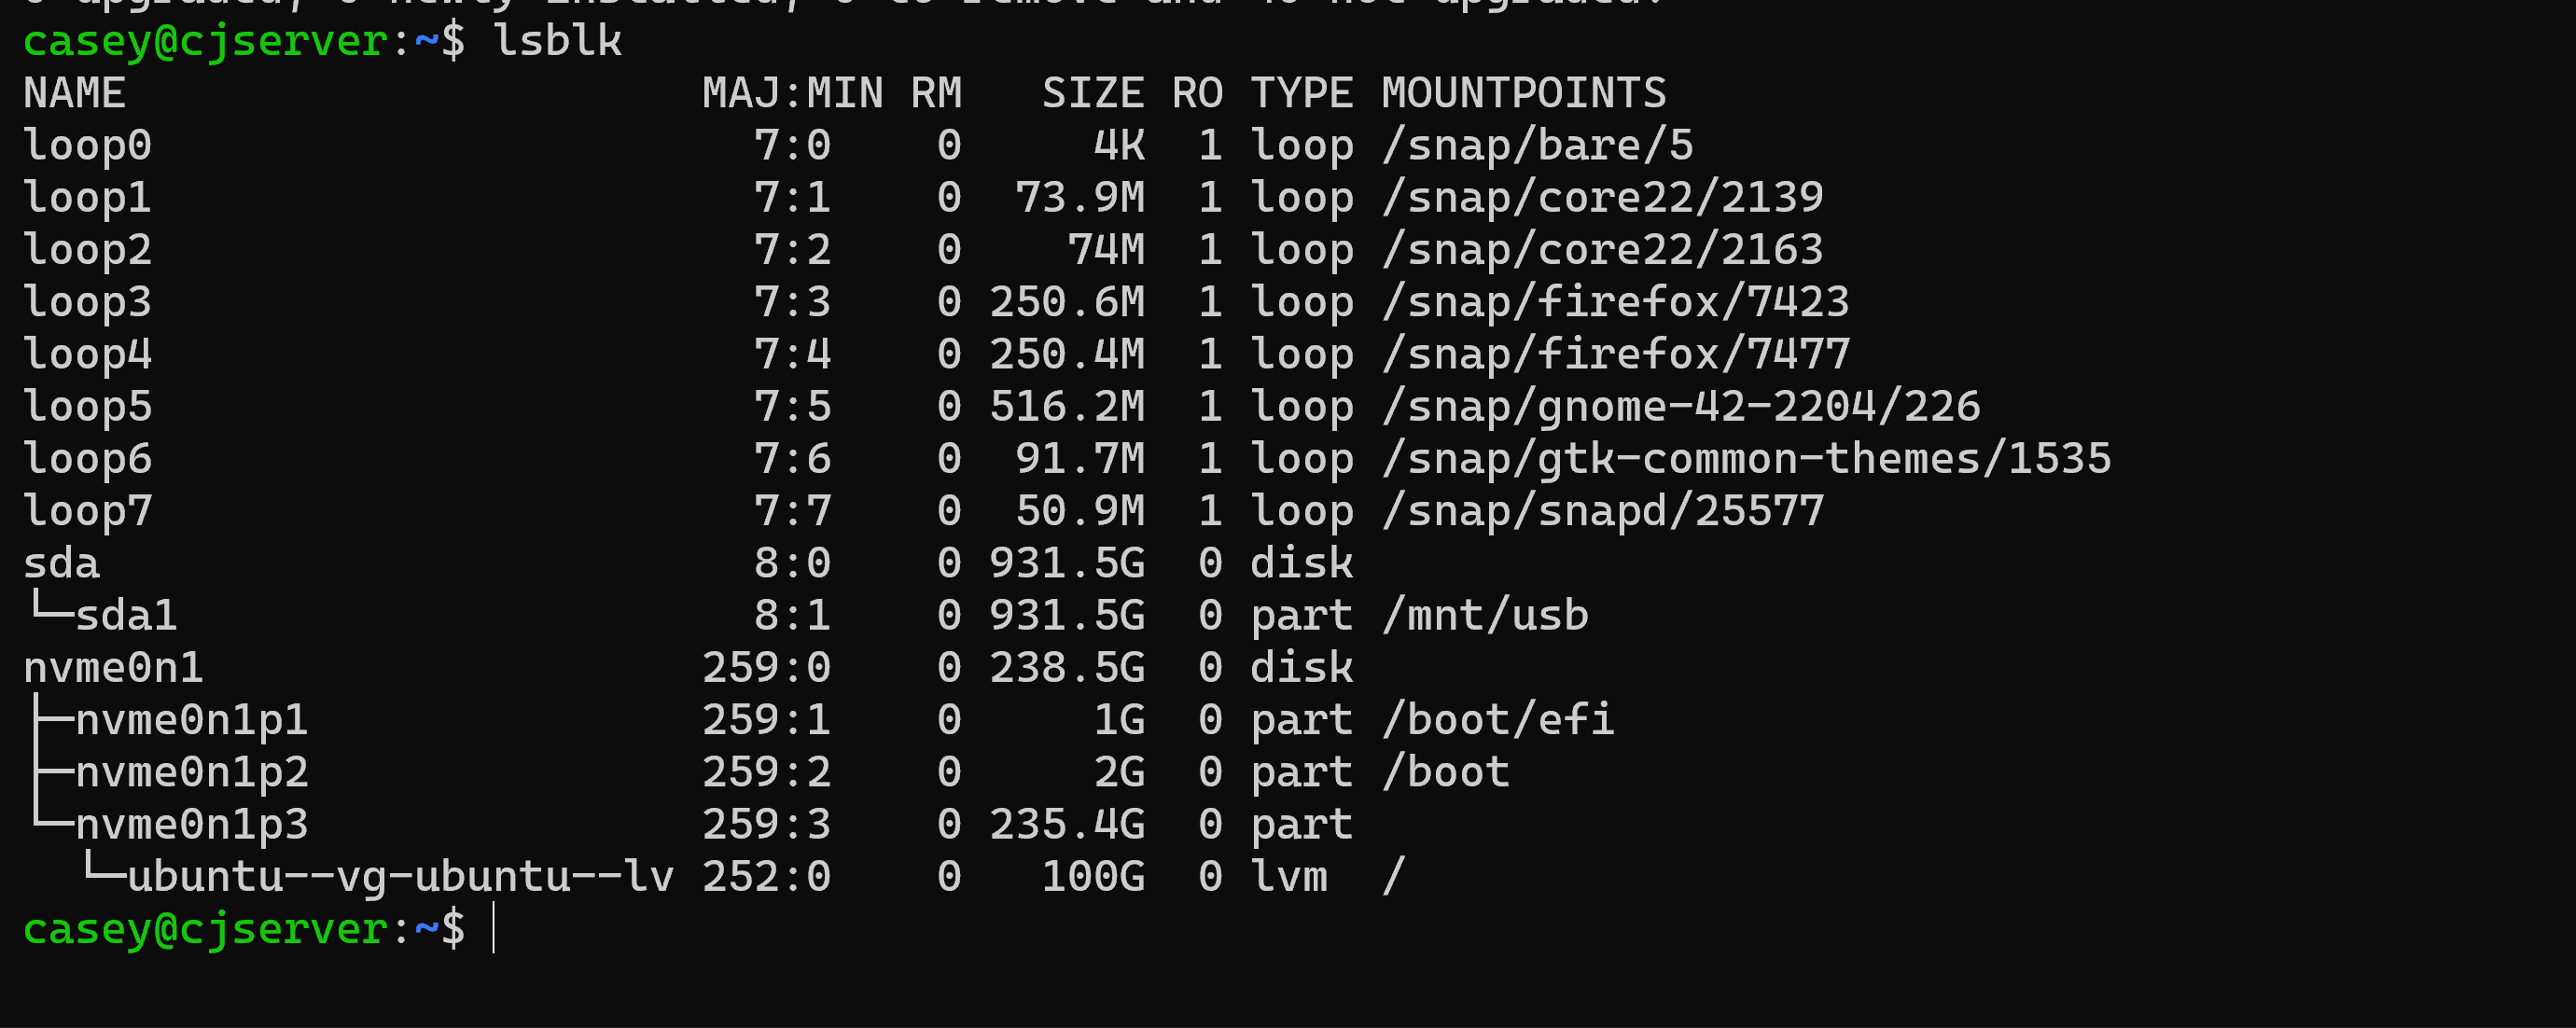
You can see above under sda/sda1 that I have 931.5G left on my external 1tb hard drive. There is an important Linux thing to understand when dealing with external drives – if you don’t add the entry to fstab then it will not persist after you reboot your system.
Mount external drive: sudo mount /dev/sda1 /mnt/usb
Grab the device’s UUID:

And then use nano or your text editor of choice to append that entry to the bottom of the fstab file, which you can see I have done, here:

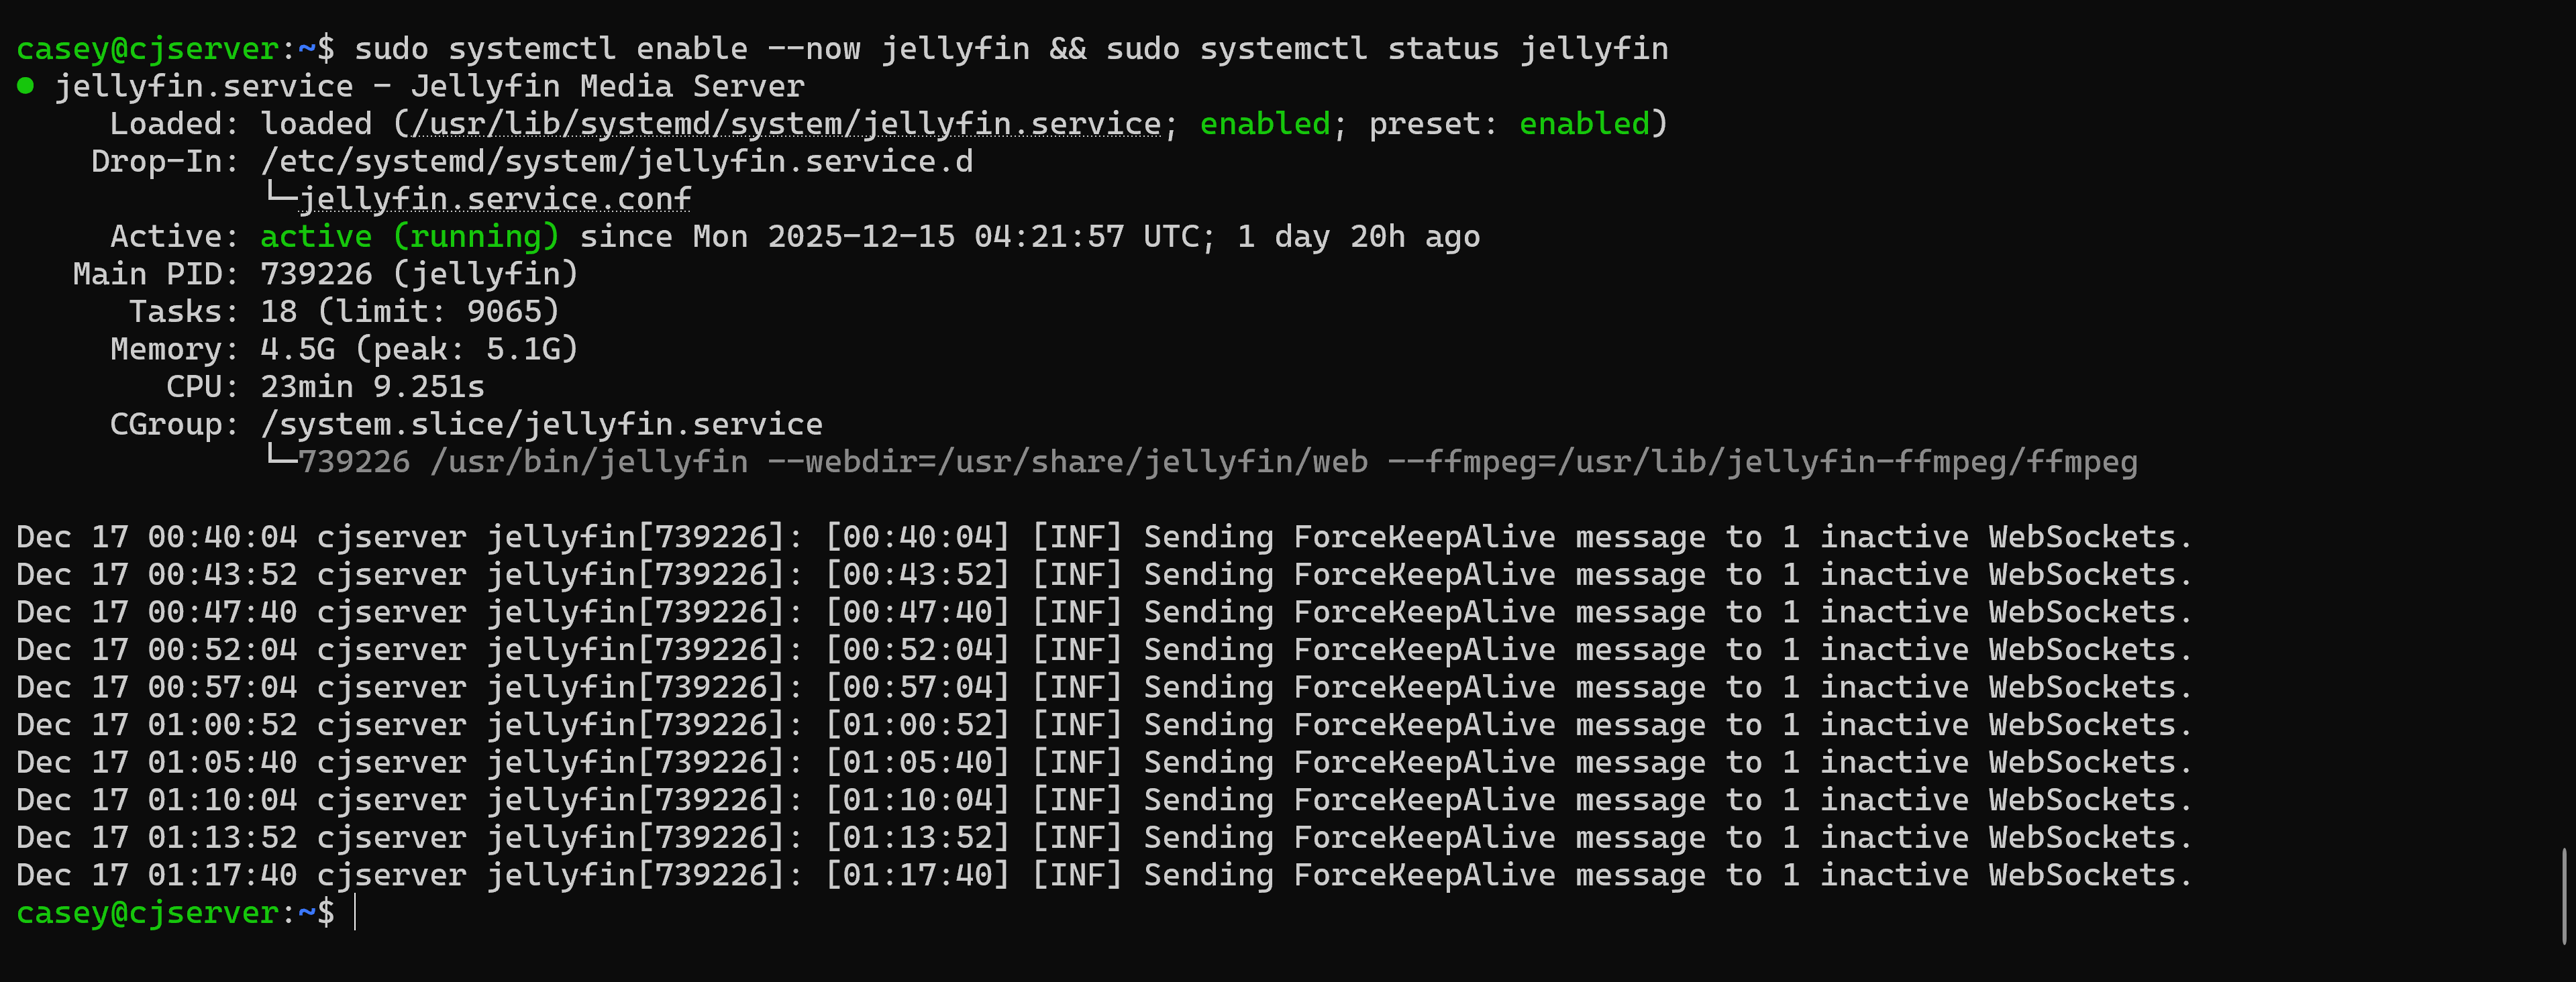
Next, we want to ensure that Jellyfin is online and functioning as a service, which is one of the reasons it is considered so polished; it should have done this automatically during installation.
The next step to ensure is that Jellyfin has an open TCP port, which is required for LAN access; everyone uses 8096. You can add the rules you will need with the following command 🙂
sudo ufw allow 8096/tcp && sudo ufw allow 8920/tcp

Almost there, now we need to know the ip address of the server in order to go online into the Jellyfin portal and set up the dashboard – followed by adding the media. Some important LAN considerations include ensuring both devices are on the same subnet so that they can actually communicate. I found it interesting that my wife’s Roku stick had no issue finding the server and connecting; however, when I set up my TV with the Roku app, I had to manually reserve an IP address because the default for it was on a different subnet than the server.

I did you a solid and trimmed the output down for simplicity, as I have a tailnet and a few other web applications running.
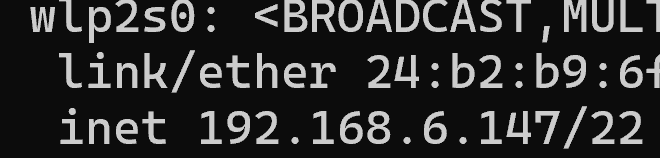
There is the address you will utilise to log into your Jellyfin Dashboard through the browser. Only remember to use port 8096 instead of 22. Once you have set up your account on the dashboard, you will be navigated to the home screen. From there, you need to go to the settings and point
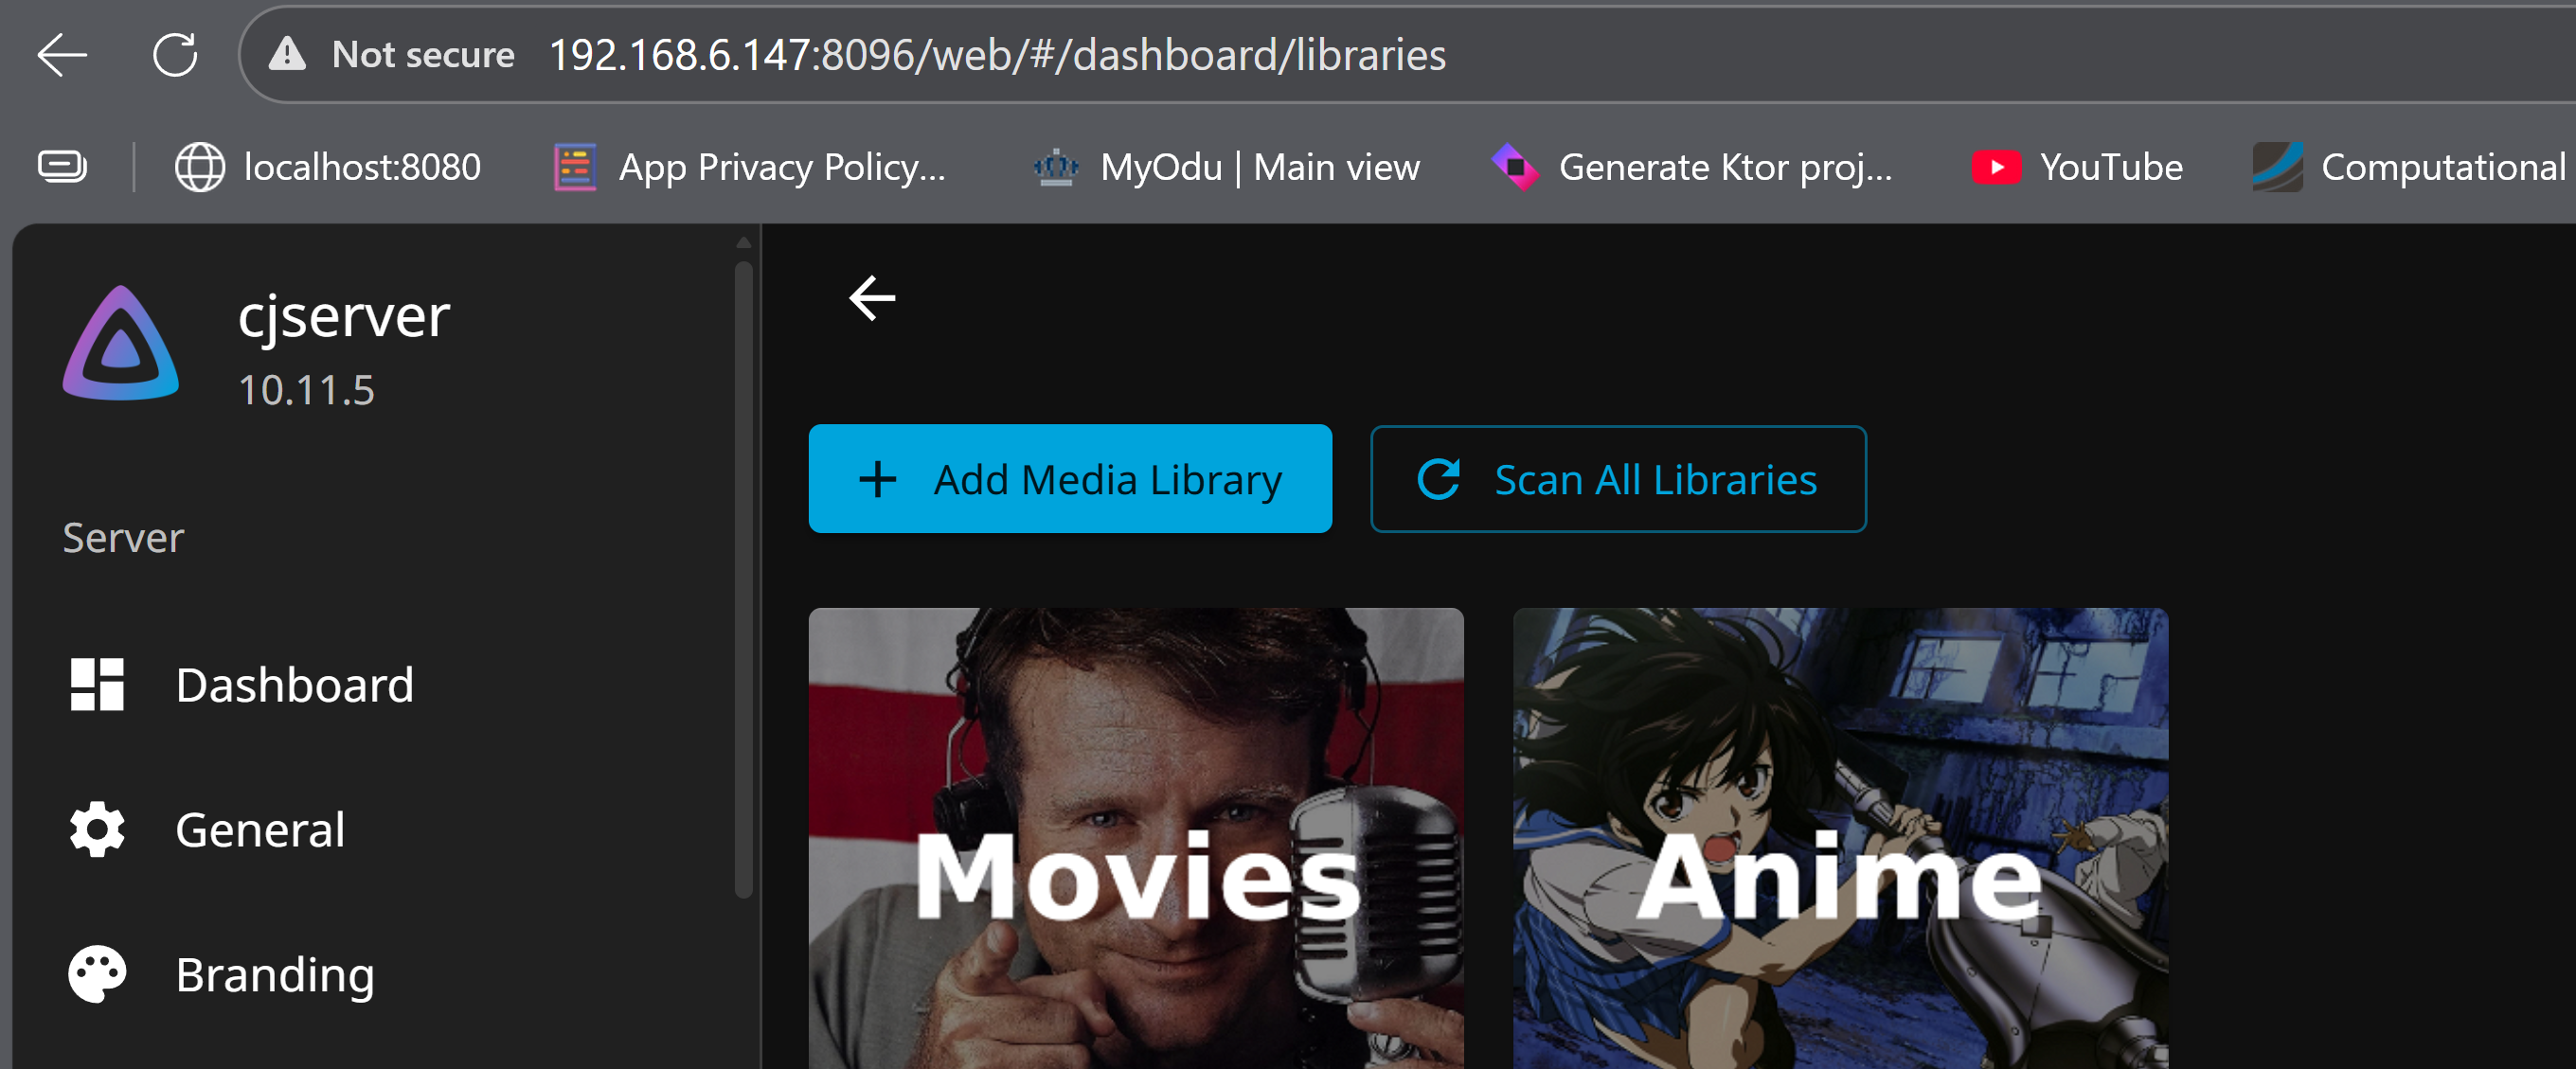
+ Add Media Library, point Jellyfin to the location on your server where you store your files, and after it sychronizes your movies should be visible on the homepage and accessible through web browsers or the Jellyfin app through any device on the same LAN – even in the frustrating case when the WAN (the proverbial ‘internet’) is out.