Part I– Check your file system (30 points).
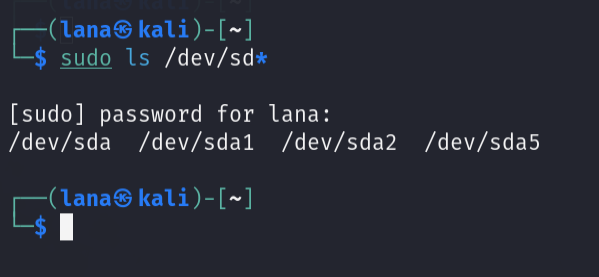
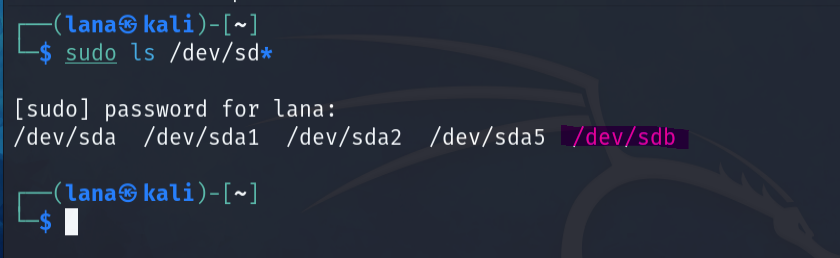
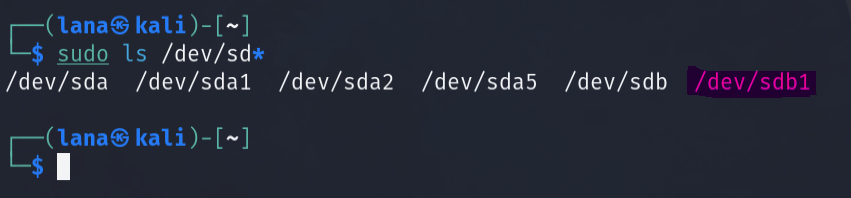
Step 1. Execute the ls /dev/sd* command to see the current hard disk devices. [use sudo]
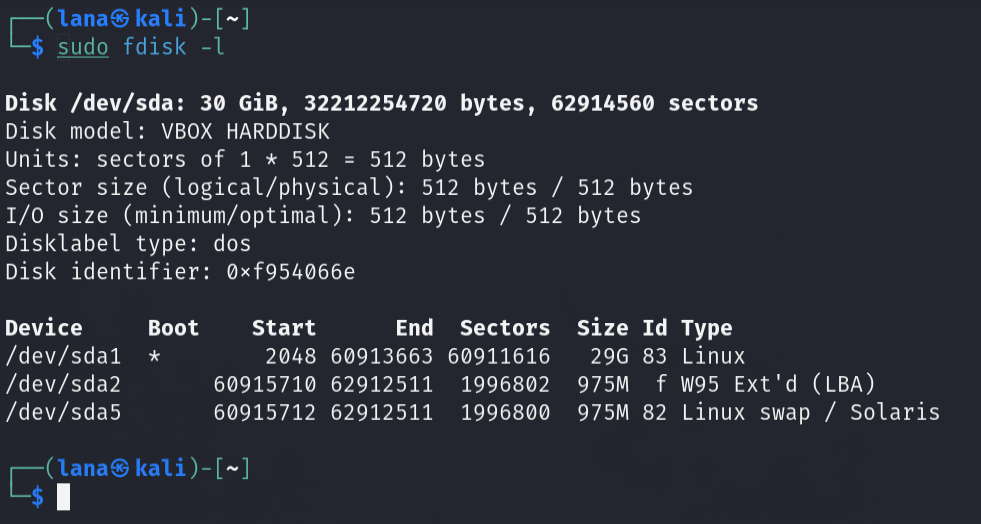
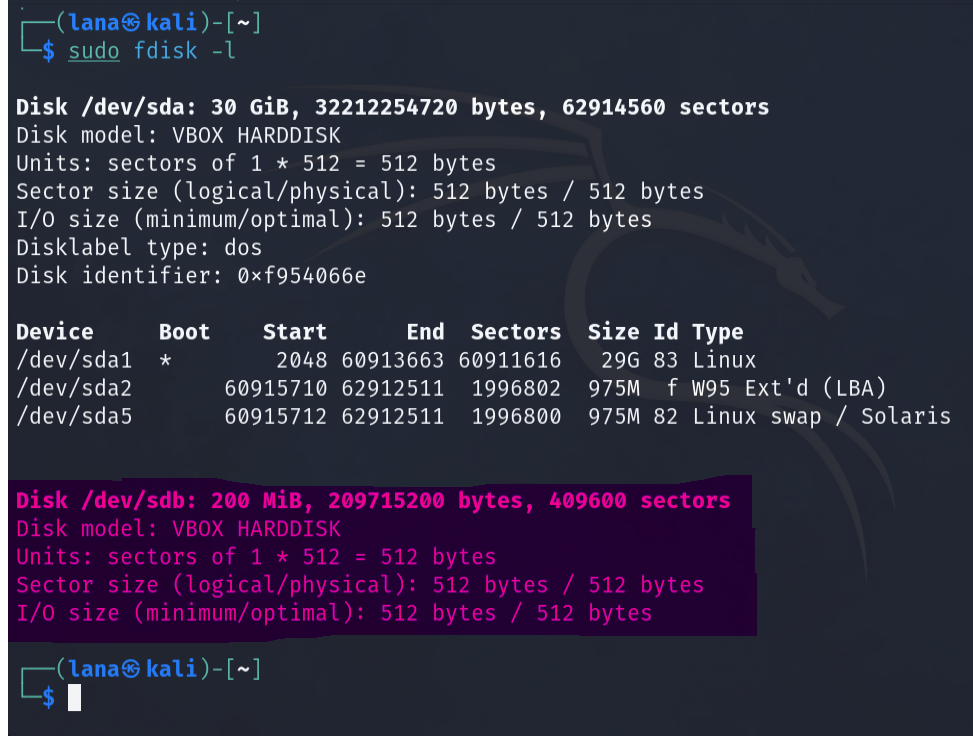
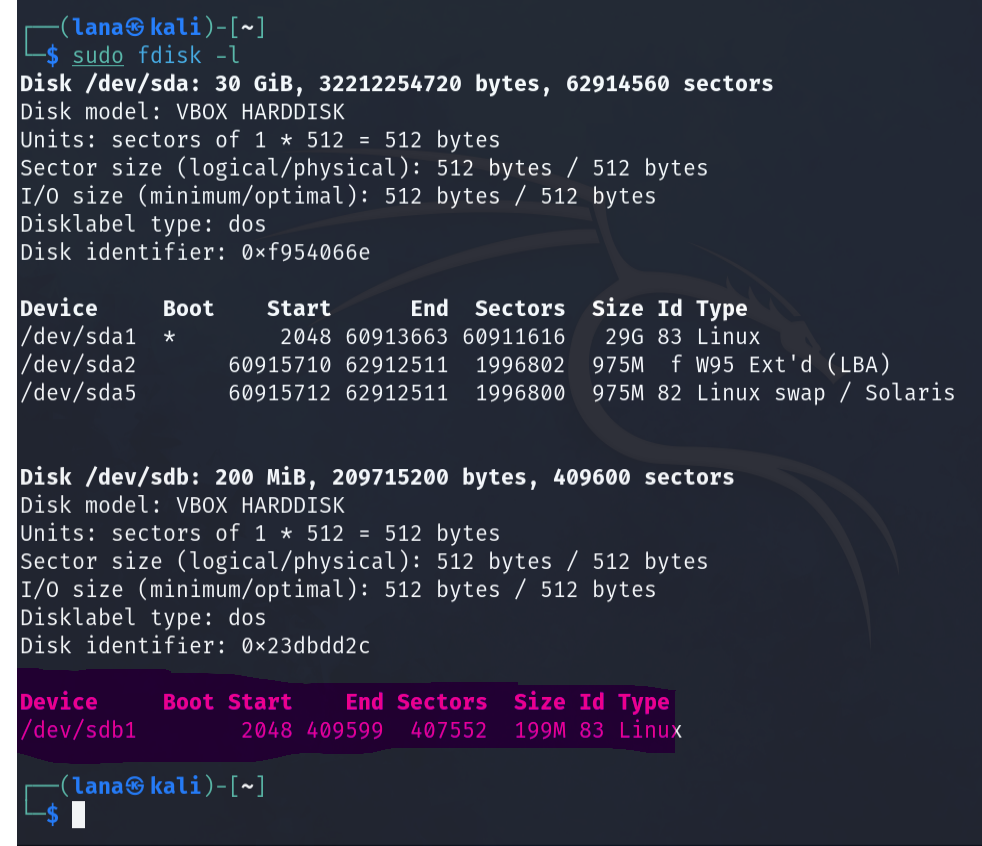
Step 2. Execute the fdisk -l command to list the current hard disk partitions. [use sudo]
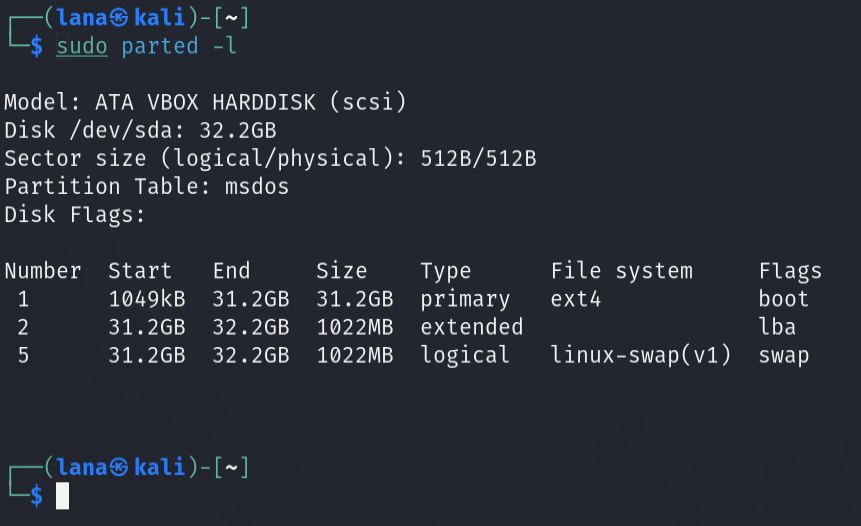
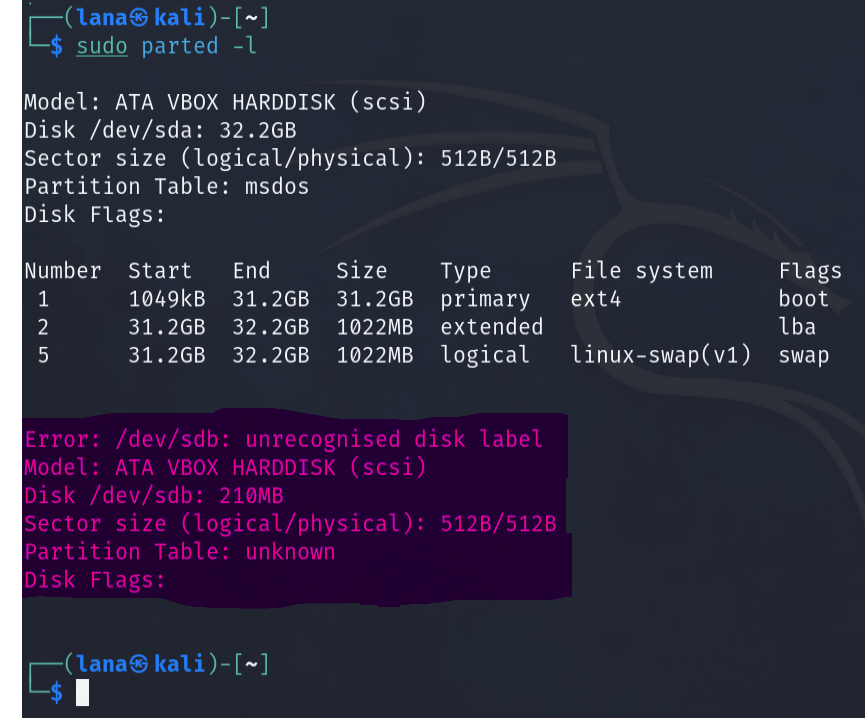
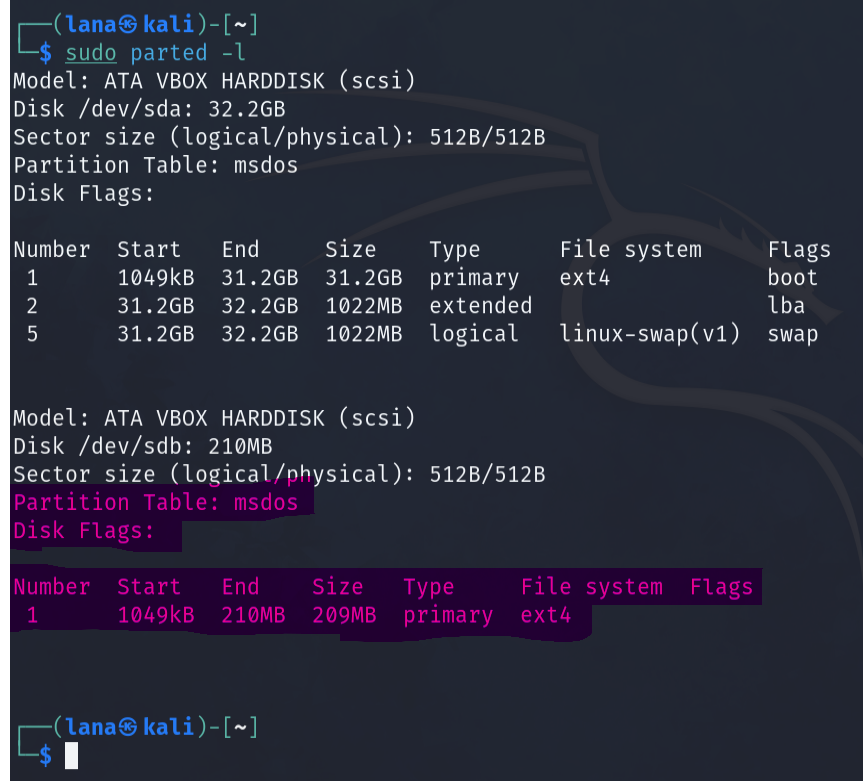
Step 3. Execute the parted -l command to list the current hard disk partition table. [use sudo]
Part II– Create a new virtual disk (30 points)
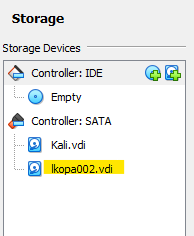
Step 1. In the VM setting, attach a new virtual hard disk with the size of 200 MB to our current Linux VM. Name it as “your_midas.vdi” [ HINT: Please refer to the slides and discussion during the class for week 7]
Step 2. Load this virtual hard disk to your virtual machine.
Step 3. Repeat the steps in Part I and highlight the differences after adding the new virtual hard disk.
Part III– Creating Partitions and Filesystems (60 points)
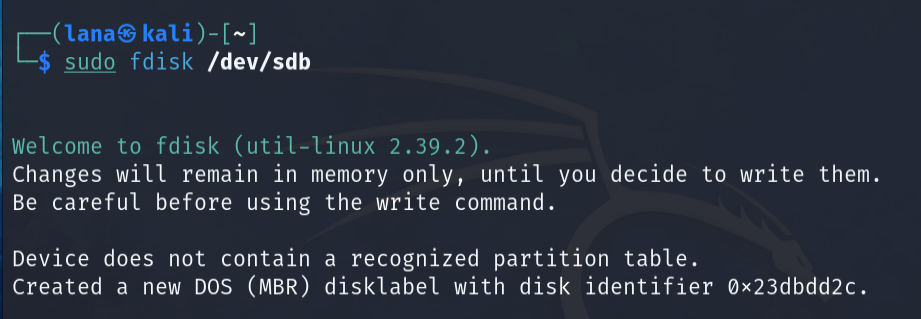
Step 1. Use the fdisk command to create a new primary partition on the new virtual hard disk attached in Part II.

Step 2. Use the correct command to create an ext4 filesystem on the new partition.
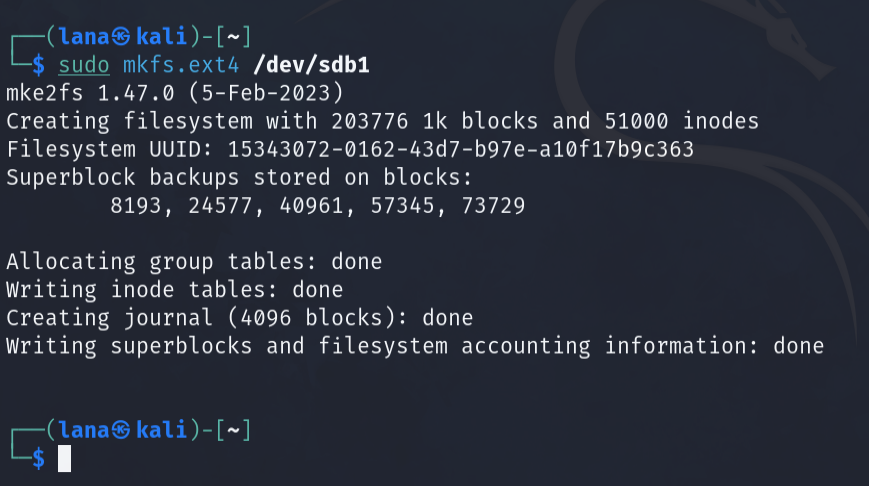
Step 3. Repeat the steps in Part I and highlight the differences.
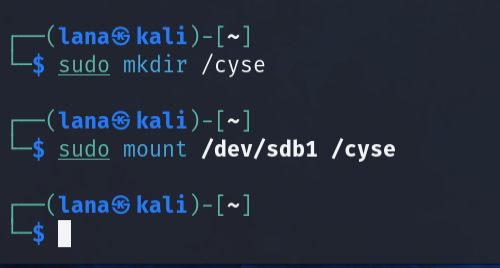
Step 4. Make a new directory named /cyse. And mount the new partition under this directory.
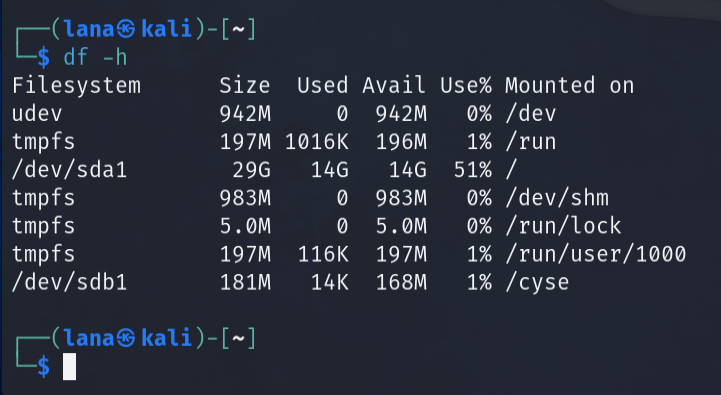
Step 5. Use the df command to check the mounting point of the new partition.
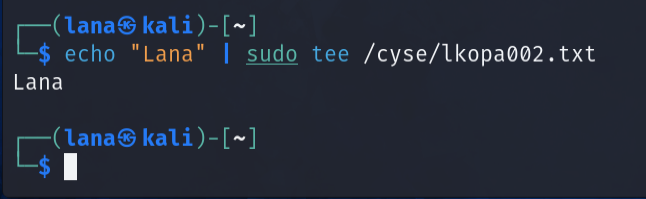
Step 6. Create a new file named for YourMIDAS.txt (replace YourMIDAS with your MIDAS ID) in the directory /cyse and put your name in that file.
Step 7. Unmount /cyse directory.

Step 8. Check the contents in /cyse directory. What do you find?
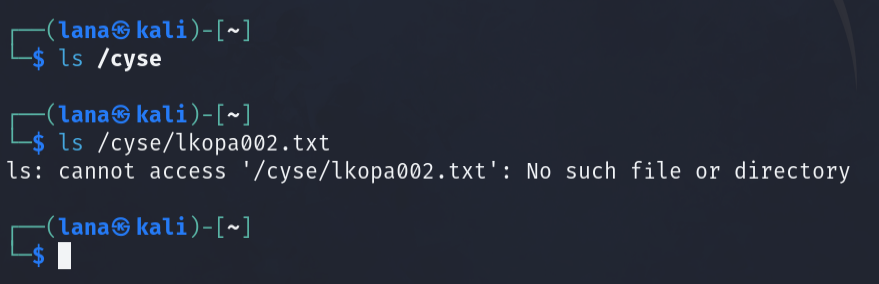
I didn’t find anything under the directory /cyse.